
How to organize digital photos on a Mac without sorting them one by one
Sorting a photo archive by hand does not scale. Indexing it does. This is the seven-step system, the folder rules that survive contact with reality, and the twenty minutes a month that keep it current.
The short answer
Stop sorting and start indexing. Keep one working archive in a single place with years as the top folder level, copy every source into it, keep two further copies on separate hardware, then let on-device AI make each photo findable by what it shows. You describe the moment you remember, and the photo comes back. Filing every photo into the right folder is the work you can skip.
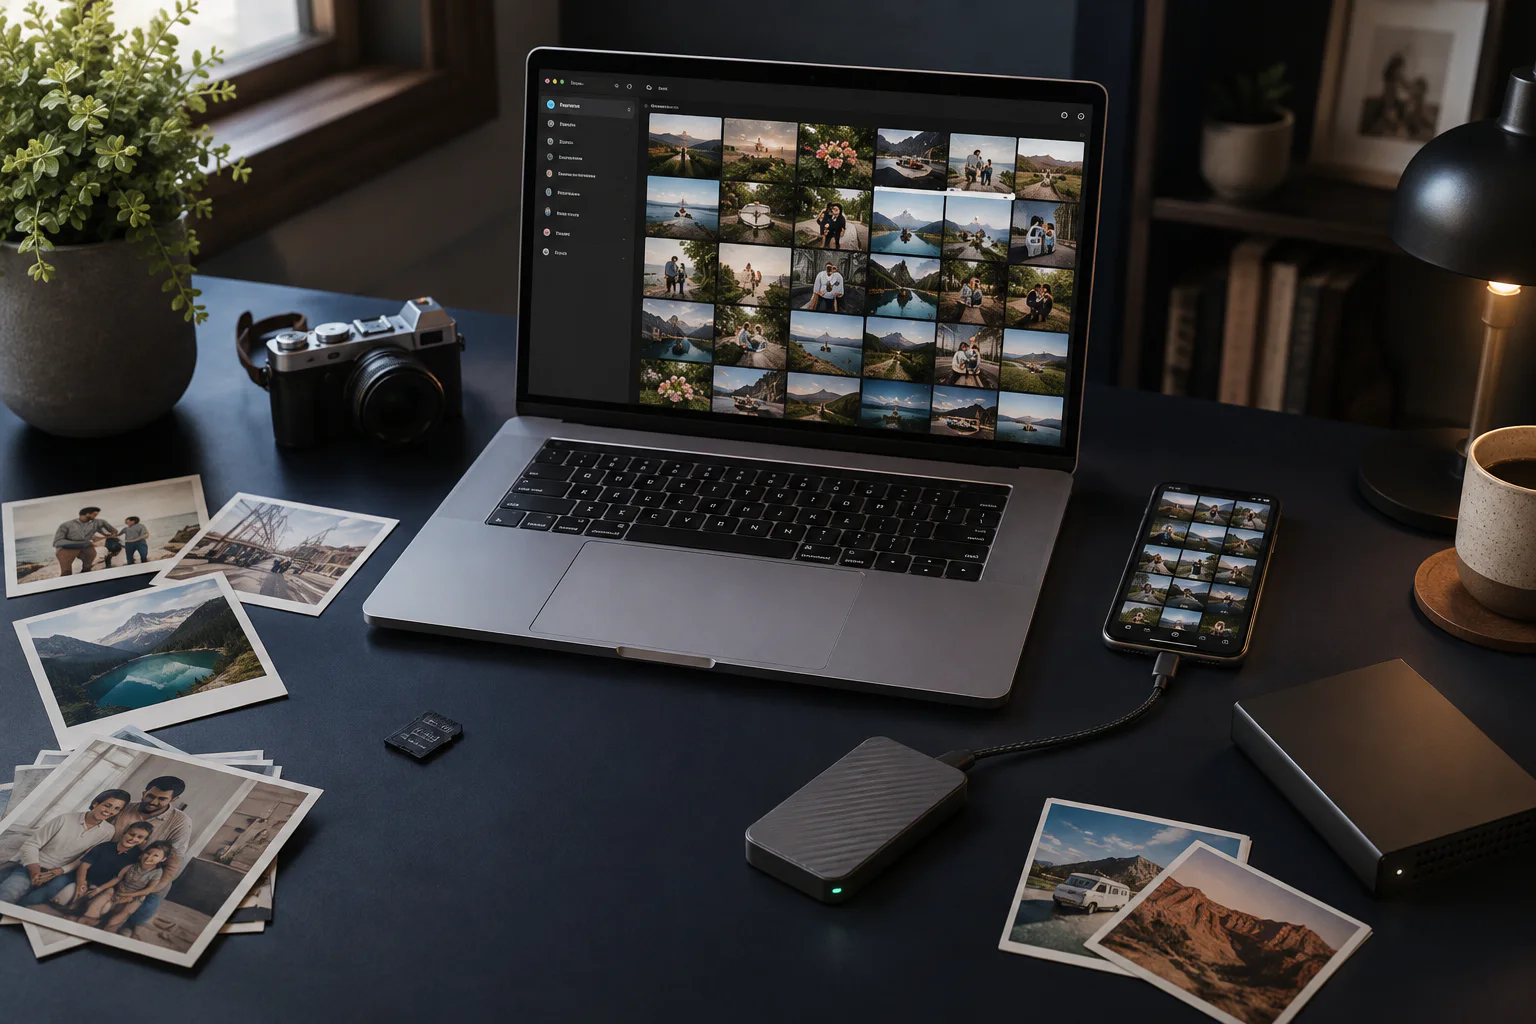
Most people meet their photo archive twice. Once when a drive fills up, and once when they want a specific picture and cannot find it. Both moments end the same way, with a resolution to organize everything properly, and a folder called To sort that never gets sorted.
The reason is arithmetic. A ten-year archive holds tens of thousands of photos. At three seconds a photo, sorting by hand is weeks of work, and it has to be redone every time you change your mind about the categories. The way out is to stop treating organization as a filing problem and start treating it as a search problem.
What follows is a system you can set up in an afternoon and maintain in twenty minutes a month. It works on any Mac with any set of drives, and the search step assumes photo archive software that reads your folders where they already are.
Step 1. Define what organized means before you touch a file
Organized is not a folder structure. It is three outcomes: your photos are protected, you can find a specific moment, and you actually use the archive again. Write those three down. Every decision that follows becomes easy to judge, because you only have to ask whether it serves one of them.
Most photo projects stall because the goal is vague. "Tidy up my photos" has no finish line. "Every photo of my daughter is on two drives and I can find any of them in ten seconds" has one.
Step 2. Map every source before you move a file
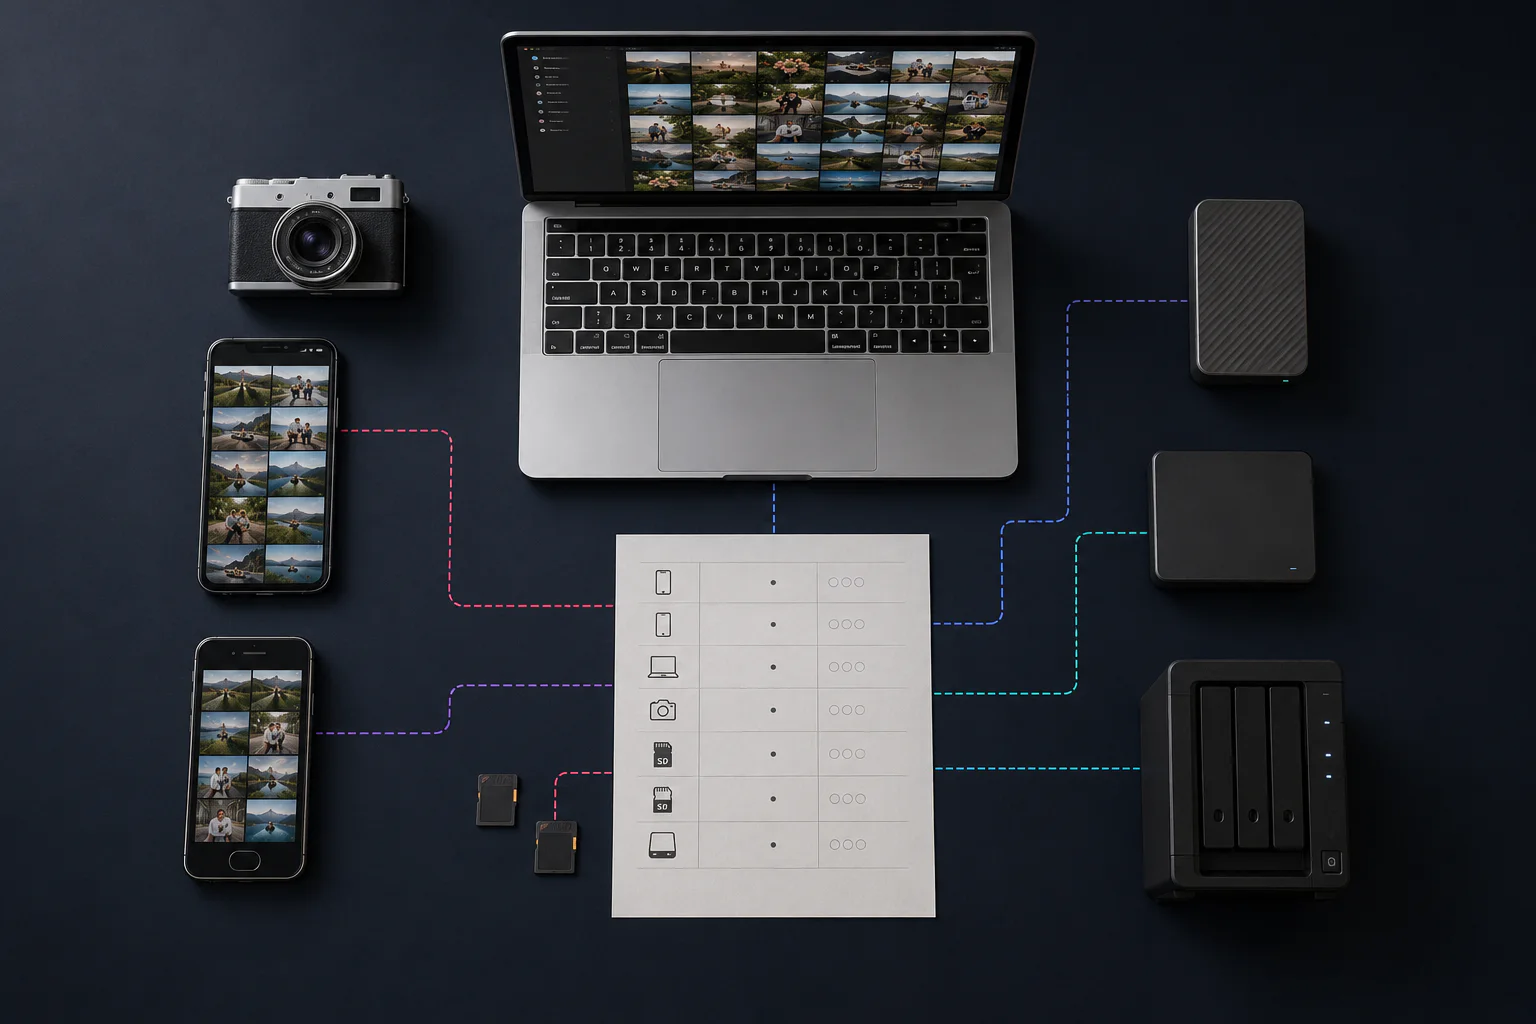
Open a note and list every place a photo of yours currently lives. Phone, Mac, old laptop, external drives, memory cards still in a drawer, a NAS, the camera roll of a partner who sends you pictures. Write the rough count and the rough date range for each one.
This takes twenty minutes and it prevents the worst outcome, which is discovering a forgotten drive after you have already reorganized everything else. Do not move anything yet. The map is the deliverable.
Step 3. Choose one home, then keep separate copies
Pick one location to be the working archive. One drive, one folder tree, one place you can point to. Everything else becomes a source you copy from, never a second home you also maintain.
The copies are a separate question from the home, and they matter more. A working example for a family archive: the working copy lives on an external SSD connected to the Mac; a second copy sits on a desktop drive that stays at home and gets updated once a month; a third copy lives somewhere else entirely, at a relative’s house or with a backup service you already pay for. PhotoCore reads the working copy and never writes to the other two. It is a catalogue and a search layer, so keep using real backup software alongside it.
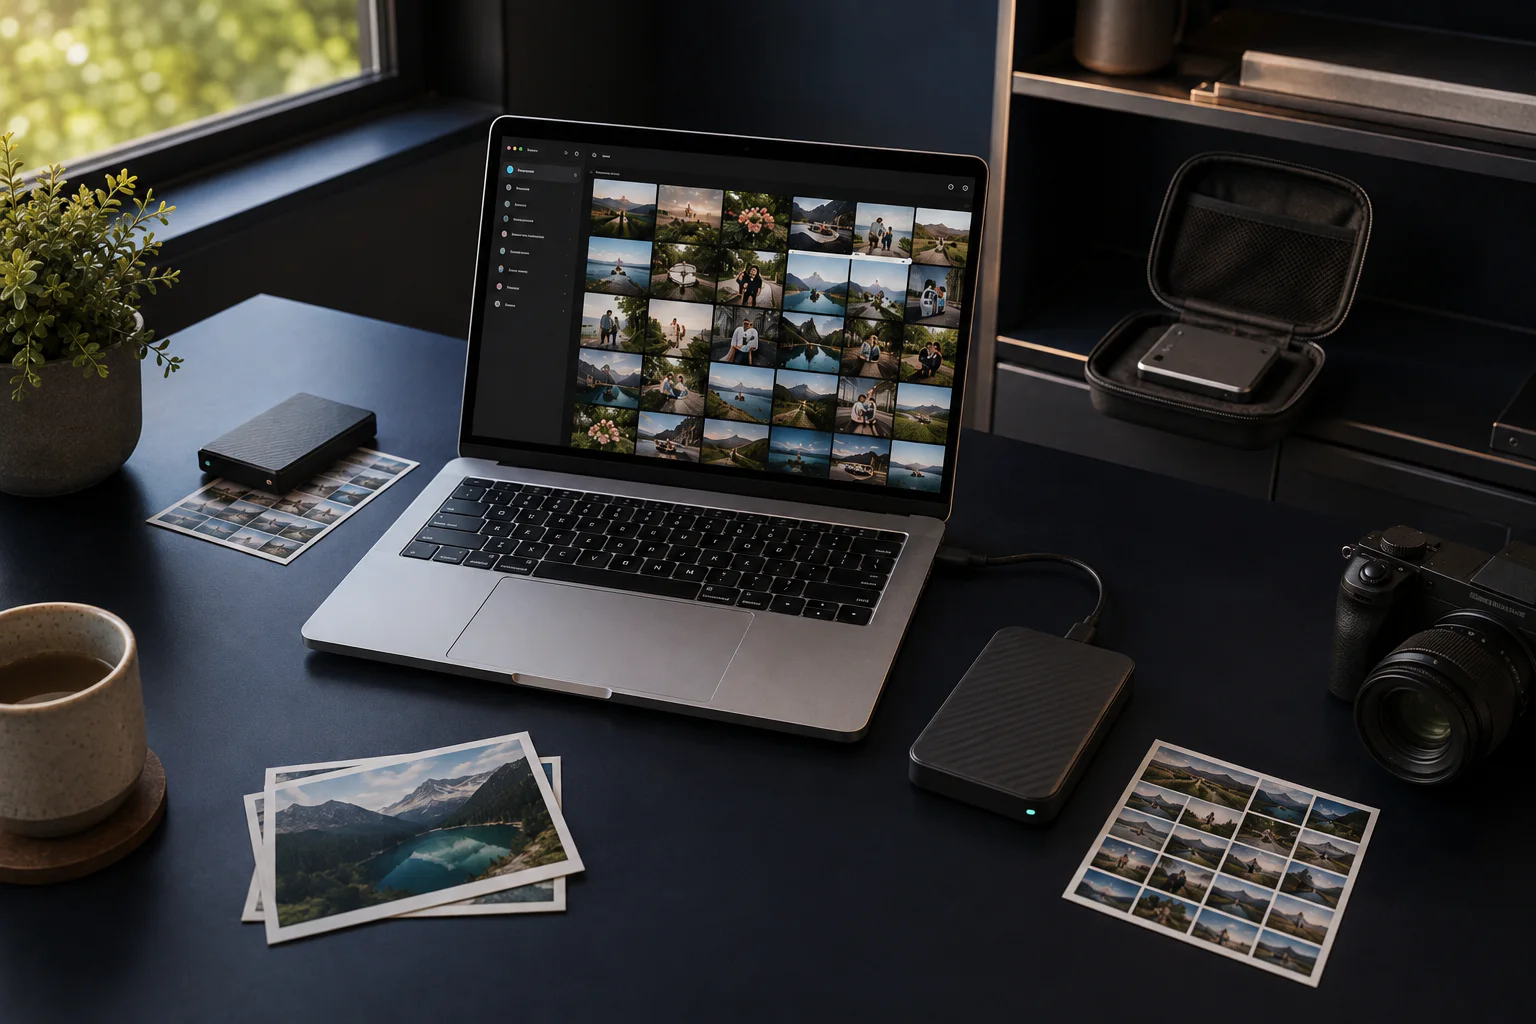
- Working copy on the drive you use every day
- Second copy on separate hardware, updated monthly
- Third copy somewhere physically else
- PhotoCore reads the working copy and writes nothing to the others
Step 4. Archive the phone into one predictable destination
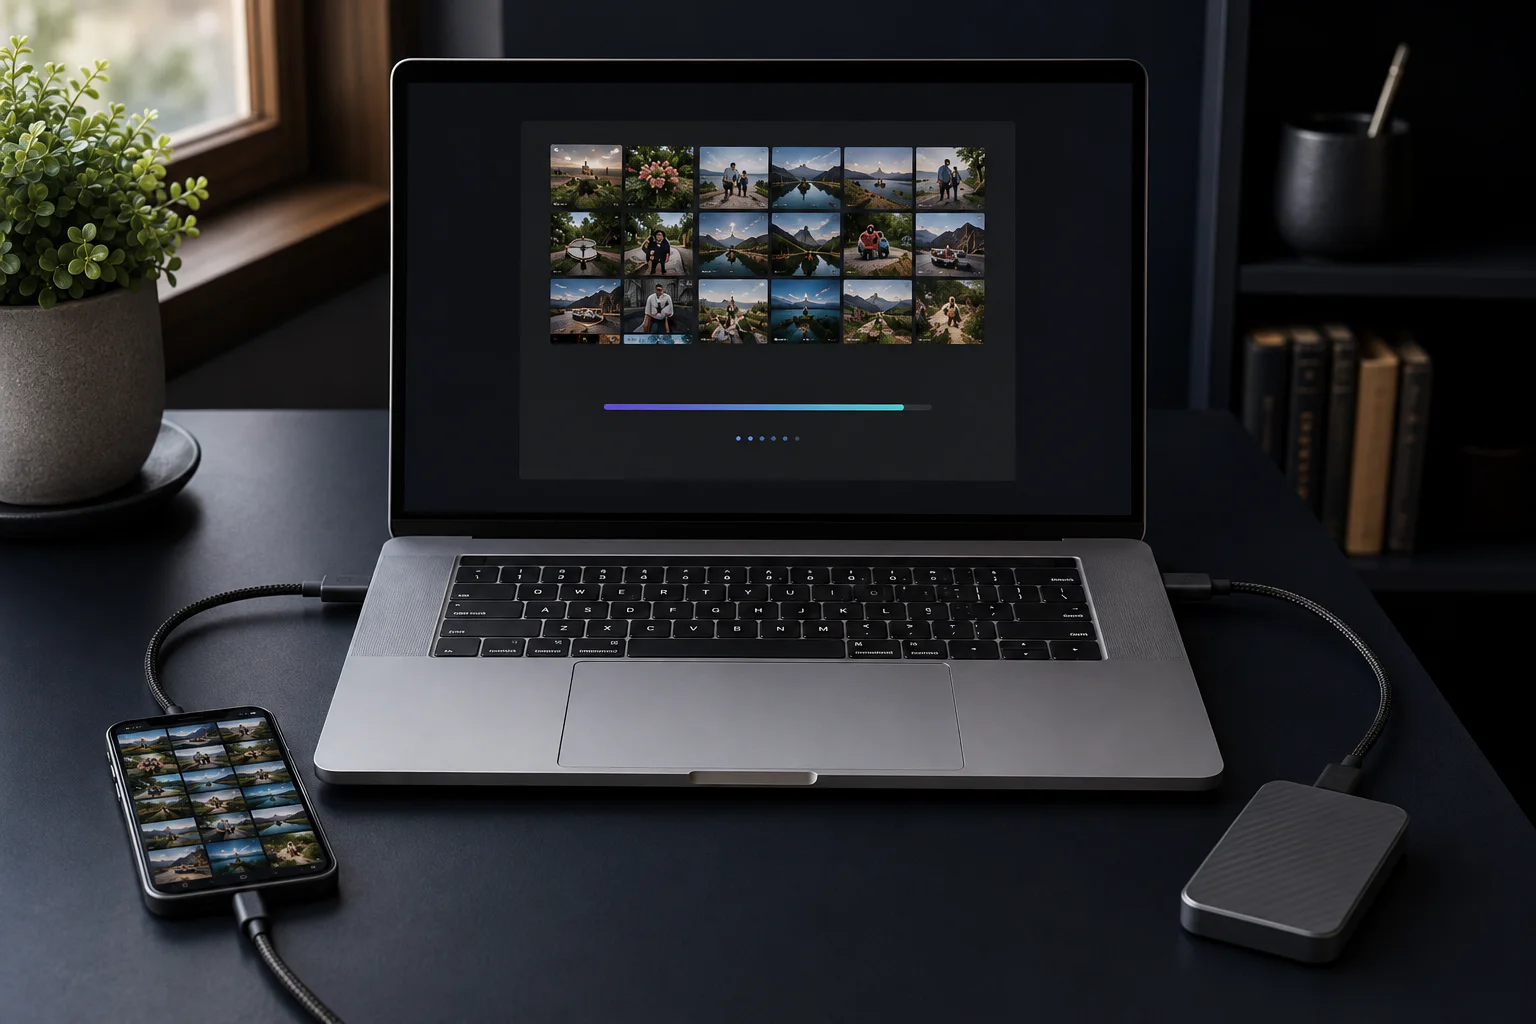
The phone is where the backlog grows fastest, so give it a fixed destination and use the same one every time. Connect the phone over USB, copy into the archive, and verify the copy before you delete anything on the phone. PhotoCore’s Phone Archive checks every file byte for byte after copying, works one way only, and never touches what is on the phone.
A fast scan tells you what is already archived and what is new, so the second month takes a fraction of the first. Once the import finishes, the new photos are indexed automatically and the archive stays searchable even when you unplug the drive.
Step 5. Keep the folder tree broad and boring
Use years as the top level and stop there for most photos. Add an event folder only when the grouping is obvious and will still be obvious in five years: a wedding, a trip, a house move. Everything else stays in the year.
Deep folder trees fail for a simple reason. They ask you to guess, at filing time, which single category you will search from later. A photo of your father at the beach on holiday belongs to three categories and you will remember a fourth. Broad folders plus a real search beat precise folders plus no search.
Step 6. Remove the noise safely, in this order
Do not start with the hard calls. Work down a fixed list and the archive shrinks quickly without a single agonising decision:
- Screenshots and images saved from messaging apps. Almost always safe to remove, and usually the largest group.
- Photos of documents, receipts and whiteboards you no longer need. Keep the ones that are still useful.
- Exact duplicates, the same file copied into two places during past migrations.
- Near duplicates, the same scene photographed several times within a few seconds.
- Bursts, where one frame is worth keeping and the rest are not.
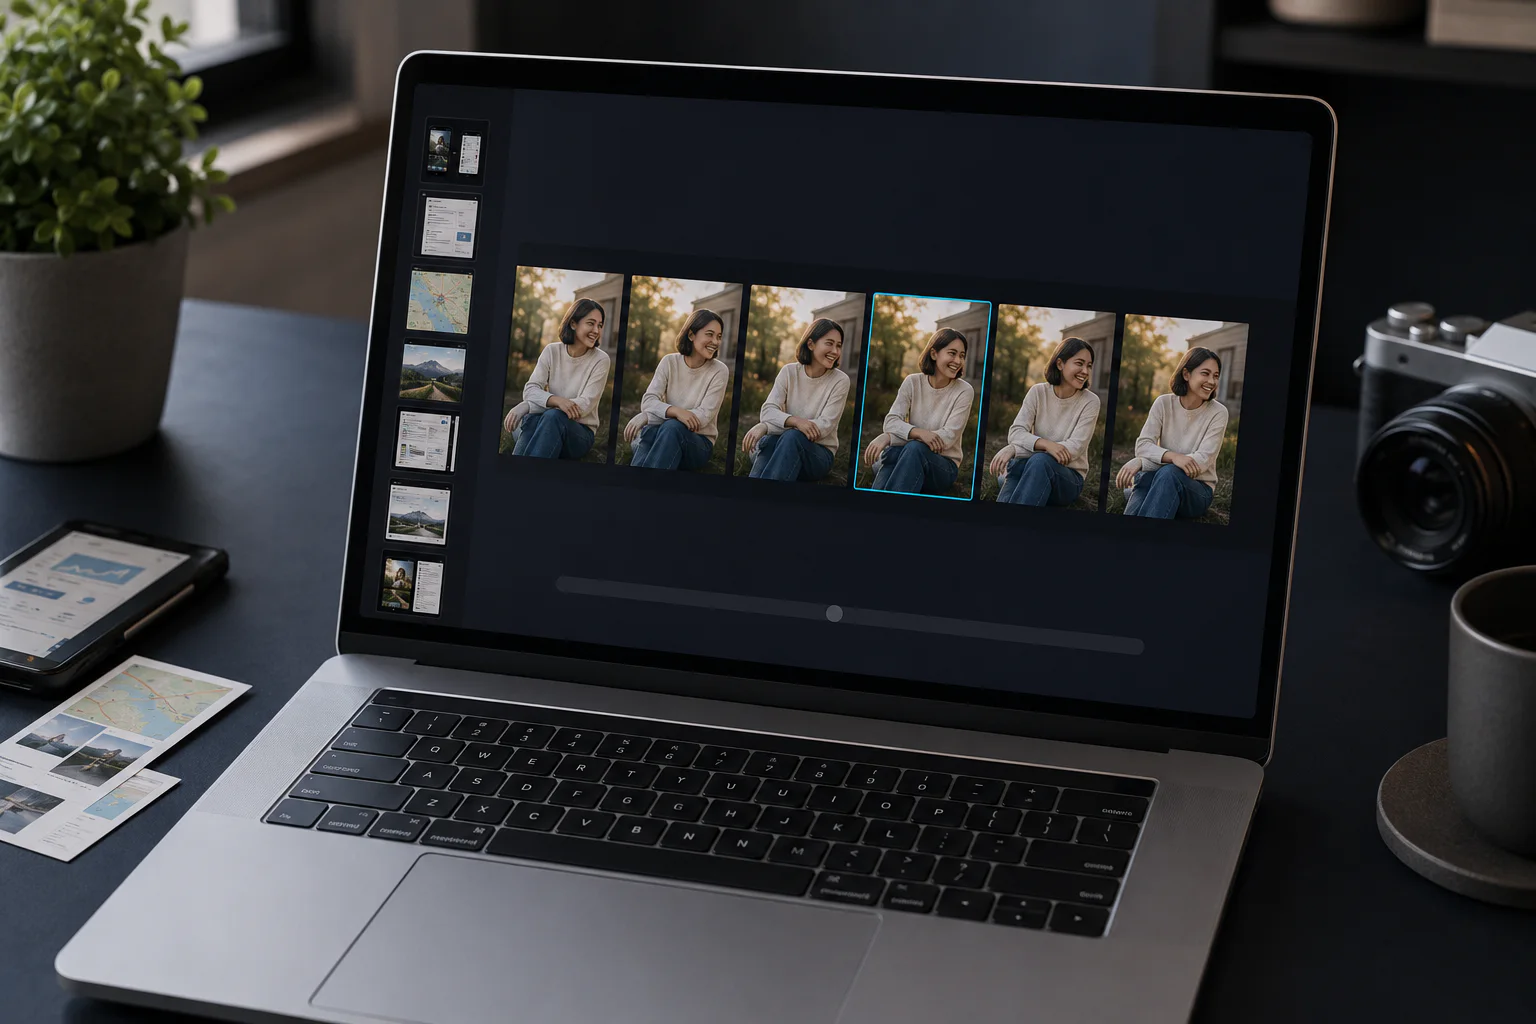
PhotoCore groups near duplicates and bursts for you and puts a star on the frame it considers strongest, judged on sharpness and exposure. You compare the group and decide. PhotoCore never deletes a photo and never moves one to the Trash, so a wrong call costs you nothing.
Step 7. Search by memory instead of by filename
This is the step that makes the other six worth doing. Once the archive is indexed, you stop navigating folders and start describing what you remember. Type the scene, the place, the feeling, the person, and the photo comes back.

Search runs entirely on your Mac with a local AI model, so nothing is uploaded and the archive stays private. Searching 10,000 indexed photos takes under 50 ms, and the index also covers short videos in MOV and MP4 up to 30 seconds. You can try the same engine in your browser with the free semantic photo search tool, before installing anything.
The 20-minute monthly routine
The system holds together because the maintenance is small enough that you keep doing it. Twenty minutes once a month is enough to keep an archive of any size current.
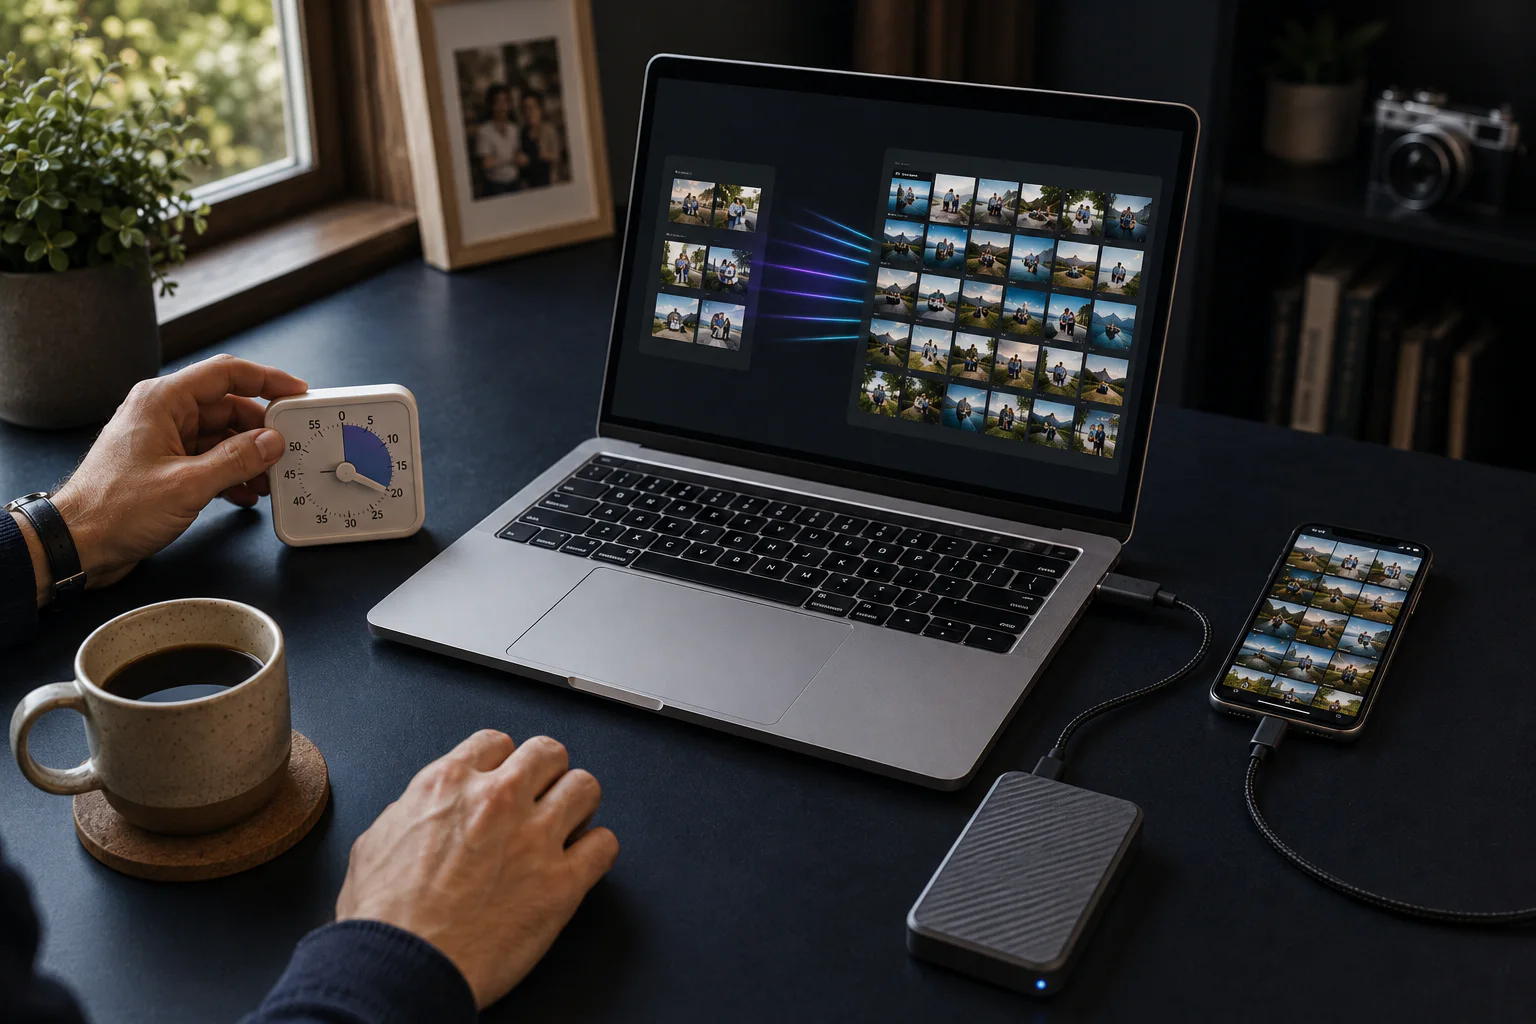
Put it in the calendar on a fixed day. The archive stops being a project you will get to one weekend, and becomes something that is simply current.
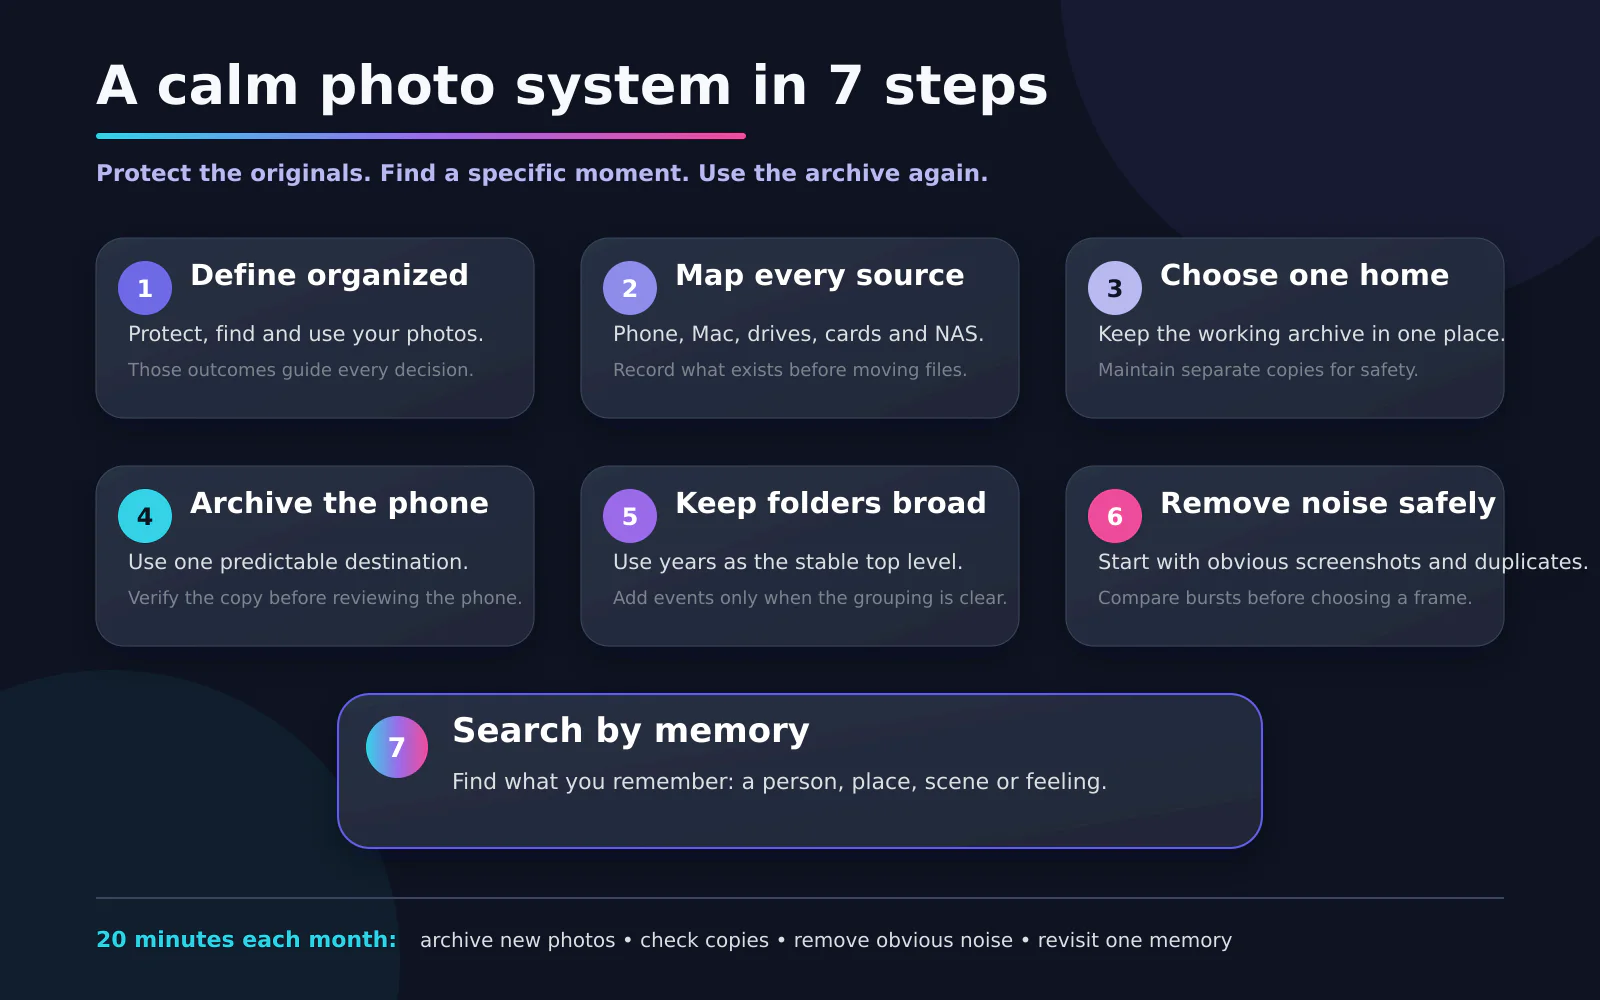
The seven steps at a glance
Common questions
How do I organize digital photos on a Mac without sorting them one by one?
Should I organize photos by date or by event?
How many copies of my photo archive should I keep?
Do I have to import my photos into an app to search them?
Which formats can PhotoCore index?
Does PhotoCore delete duplicates for me?
Can I still find photos when the external drive is unplugged?
What does PhotoCore need to run, and what does it cost?
Related reading
Archive iPhone photos without iCloud
Step 4 in detail: getting the phone into the archive, verified, without paying for more cloud storage.
Search disconnected hard drives
Why the catalogue keeps working when the drive holding the originals is unplugged.
Photo archive software for Mac
What to require from the software that indexes an archive you intend to keep for decades.
Free duplicate photo finder
Run step 6 in your browser first. Read-only, no upload, no account.
Free best shot picker
Compare a burst and see which frame wins on sharpness and exposure, and why.
How to organize 50,000 photos
The same system at the scale where hand sorting stopped being an option years ago.
Index your first 200 photos today
PhotoCore Light is free and indexes up to 200 photos, enough to test the whole system on one folder. PhotoCore Full removes the 200-photo limit with a one-time purchase, and includes Family Sharing. Requires macOS 26.4 or later on Apple silicon.